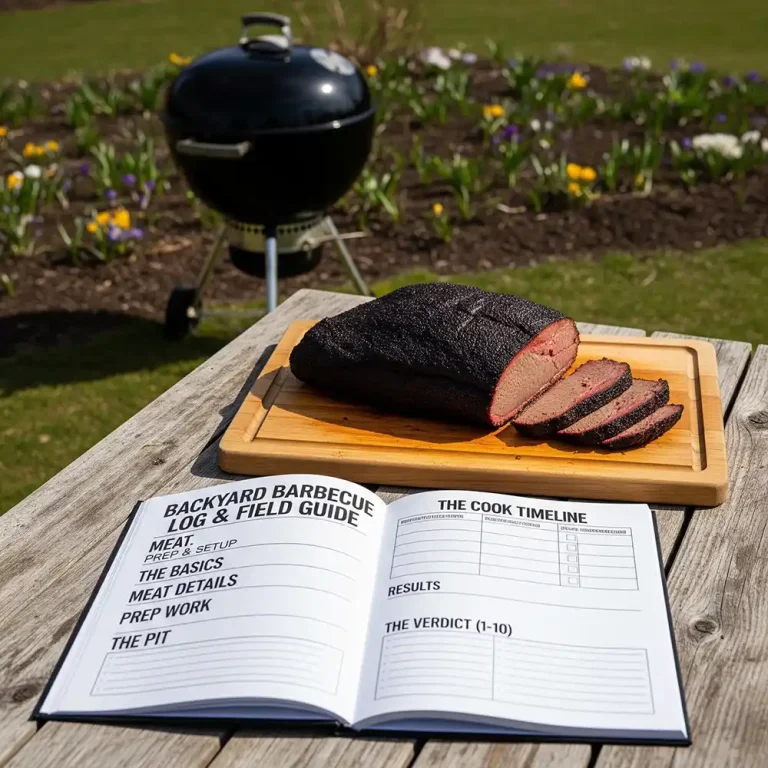
As a Northern Michigan griller, you know the importance of patience and proper technique. If you want to achieve restaurant-quality results—whether it’s an incredibly crispy-skinned chicken or a perfectly tender, seasoned steak—you need to master one essential prep step: the Dry Brine.
This simple process uses nothing more than salt, time, and refrigeration to revolutionize the texture and flavor of your meat.
What is Dry Brining? (And Why It’s Not a Wet Brine)
A dry brine is the process of applying coarse salt directly to the surface of a cut of meat (like steak, chicken, or pork) and allowing it to rest, uncovered, in the refrigerator.
It is fundamentally different from a wet brine (where meat is submerged in salt water) because:
- Concentration: The salt concentration is higher, meaning the flavor exchange is more efficient.
- Texture: By resting uncovered, the surface of the meat dries out, which is the secret to getting a thick, incredible crust or crispy skin.
How to Dry Brine in 3 Simple Steps
The process is incredibly easy and requires very little active time.
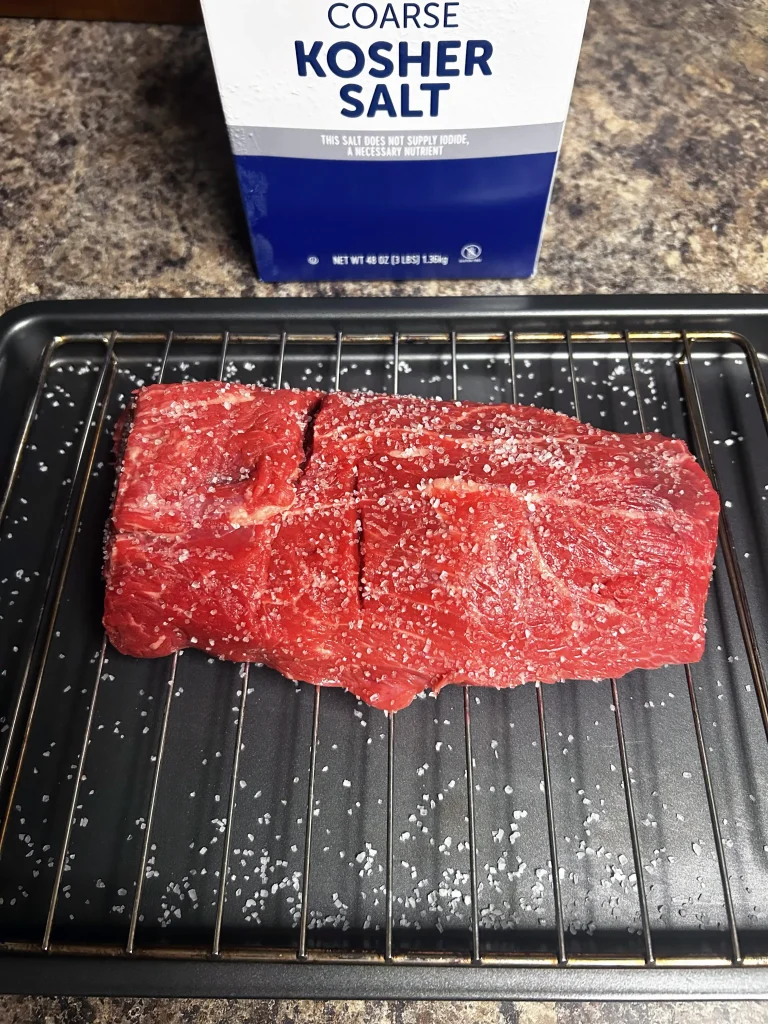
Step 1: Apply the Salt
- Pat Dry: Remove the meat from its packaging and pat the entire surface aggressively dry with paper towels.
- Season: Apply a liberal, uniform coating of Kosher Salt to all surfaces. Think of it like a light coat of snow. Use slightly more salt than you would for immediate cooking.
- Note: Do not add pepper or other rub spices yet, as they can inhibit the salt’s initial work.
Step 2: The Magic Begins (The Science)
- The salt immediately begins to draw moisture out of the meat (osmosis).
- The salt then dissolves in this moisture, creating a highly concentrated salty liquid on the surface.
- This salty liquid is then re-absorbed into the meat (diffusion), carrying the salt deep into the muscle fibers. This is where the tenderness and flavor improvement happen.
Step 3: The Rest and Dry
- Resting: Place the salted, uncovered meat on a wire rack set inside a sheet pan.
- Refrigerate: Let it rest in the refrigerator for at least 8 hours, but ideally 18 to 24 hours.
- The Result: The surface moisture completely evaporates due to the cold, circulating air, leaving behind a tacky, dry outer layer (called the pellicle).
The Benefits: Why Dry Brining is Non-Negotiable
A dry brine delivers three core benefits that elevate your grilling game:
1. Maximize Juiciness (Internal Moisture)
The process of salting and re-absorbing the liquid actually causes the muscle proteins to unravel and form a loose, web-like matrix. This matrix acts like a sponge, helping the meat retain more of its internal moisture during the high-heat cooking process. The result? Steaks, roasts, and chicken that are noticeably juicier.
2. Achieve the Ultimate Crust/Skin (External Dryness)
The primary benefit of the uncovered rest is drying the surface. When a dry surface hits the grill’s heat:
- Dry Meat: It immediately forms a crispy, savory crust (the bark).
- Wet Meat: It wastes precious grilling time steaming itself, leading to a tough, rubbery exterior.
3. Deep, Uniform Seasoning
Unlike seasoning just before cooking (where the salt only sits on the surface), the dry brine pushes the salt deep into the meat, seasoning the entire cut from the inside out. This ensures every single bite is perfectly seasoned and flavorful.
When to Use a Dry Brine
- Whole Chickens/Turkey: Essential for crispy skin.
- Thick Steaks: Critical for achieving edge-to-edge medium-rare (Reverse Sear method).
- Pork Chops: Prevents them from drying out.
- Tough Roasts: Helps tenderize lean cuts like Chuck Steak before high-heat cooking.
Best Cuts of Meat That Benefit from a Dry Brine
The dry brine technique is essential for any cut where you want both deep flavor penetration and a fantastic crust or crispy skin. This list covers the cuts where the dry brine provides the most dramatic, noticeable improvement in texture and juiciness.
Beef Cuts (For Steaks and Roasts)
Dry brining is crucial for beef, especially thicker cuts, as it breaks down surface proteins and helps retain moisture during high-heat searing.
| Cut | Ideal Thickness | Primary Benefit |
| Ribeye Steaks | 1.5″ or thicker | Enhances marbling flavor; maximizes crust. |
| New York Strip | 1.5″ or thicker | Deep seasoning and perfect edge-to-edge cook. |
| Tri-Tip | Roast (1.5″ thick) | Maximize surface crust for Reverse Sear. |
| Prime Rib Roast | Whole Roast | Essential for a salty, crispy, mahogany crust. |
| T-Bone / Porterhouse | 1.5″ or thicker | Tenderizes the small tenderloin section. |
| Chuck Steaks / Chuck Eye | Any | Tenderizes tough fibers before a Reverse Sear. |
Poultry (For Crispy Skin)
Dry brining poultry is the single best way to guarantee crackling-crisp skin every time, as the salt draws out and evaporates surface moisture.
| Cut | Primary Benefit | Notes |
| Whole Chicken | Skin Crispness | Crucial for Spatchcocked or Rotisserie Chicken. |
| Chicken Breasts (Bone-in/Skin-on) | Crisp Skin & Juiciness | Prevents lean breast meat from drying out. |
| Whole Turkey | Skin Crispness & Flavor | Essential for Thanksgiving smoking/roasting. |
Pork Cuts (For Leaner Cuts)
Pork responds incredibly well to dry brining, as it combats dryness in the leaner, quick-cooking chops and enhances the bark on larger roasts.
| Cut | Primary Benefit | Notes |
| Pork Chops (Thick-cut) | Max Juiciness | Prevents the lean meat from becoming dry. |
| Pork Tenderloin | Deep Flavor | Seasoning penetrates quickly into the lean meat. |
| Pork Loin Roast | Great Bark & Juiciness | Improves moisture retention during the smoke. |